


Sharpie Mugs
 |
 |
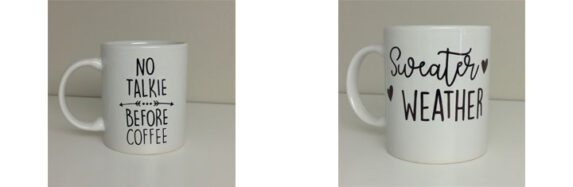
I recently discovered Sharpie mugs, and have been using my SVG designs to create some. Let me tell you, it’s pretty addicting! They look so cute, are fun to make, cheap, and easy to make. All my favorite things!!
I’m still learning, and it’s taking a little trial and error, so luckily it’s a pretty cheap craft. I started off using just a permanent sharpie, and like everything I’ve read, it rubs right off. So, naturally, I make a trip to Michael’s yesterday, and they had lots of the oil based Sharpies. I only bought silver and gold fine tip markers, as well as a black fine tip in the Craftsmart brand. I used that one last night, and really liked it, so I may purchase other colors in that brand seeing as they were cheaper than Sharpie brand.
My suggestions so far when making sharpie mugs:
Buy dollar store mugs. They’re cheap, and you can find some pretty cute styles.
Don’t buy tapered mugs, unless you’re better at applying stencils than I am (which most people probably are). I ended up with wrinkles, and bleeding under those wrinkles.
Remove any stickers. Wash your mug, then clean with rubbing alcohol and a cotton ball.
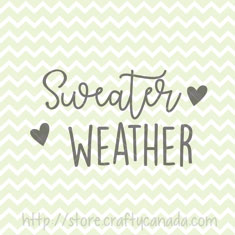
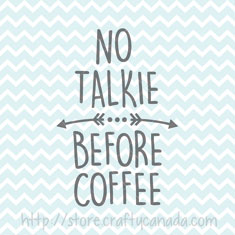
Cut out your awesome Crafty Canada svg using your Cricut or Silhouette machine, and vinyl.
Use and oil based markers. Permanent markers will rub right off.
Put your mug in a cold oven, turn it on to about 400 degrees fahrenheit (whatever you feel like doing), bake it for about 30 mins., and leave it in there to cool down with your oven.
And voila, you should have a cute, handmade mug, perfect for using yourself or giving as a gift.
You can find all my svg and png files at store.craftycanada.com and https://www.etsy.com/ca/shop/CraftyCanadaStudio?ref=l2-shopheader-name.
Please follow & like us :)
About Me
 Welcome to my Crafty Canada site! My name is Krista and I'm a stay at home mom to two awesome boys. My husband Rob is my partner, and without him I wouldn't be able to do any of this! We're very fortunate to live in the beautiful Okanagan Valley of British Columbia, Canada. If you've never been, I highly recommend visiting. We have gorgeous lakes for summer fun, and plenty of mountain activities for the winter.
I hope you enjoy my crafts, and can perhaps find a little inspiration for your own crafting projects. And if you're not a crafter, please check out my store as well. Everything is 100% hand made by me and my Hubs. Thanks for stoppin' by!
Welcome to my Crafty Canada site! My name is Krista and I'm a stay at home mom to two awesome boys. My husband Rob is my partner, and without him I wouldn't be able to do any of this! We're very fortunate to live in the beautiful Okanagan Valley of British Columbia, Canada. If you've never been, I highly recommend visiting. We have gorgeous lakes for summer fun, and plenty of mountain activities for the winter.
I hope you enjoy my crafts, and can perhaps find a little inspiration for your own crafting projects. And if you're not a crafter, please check out my store as well. Everything is 100% hand made by me and my Hubs. Thanks for stoppin' by!